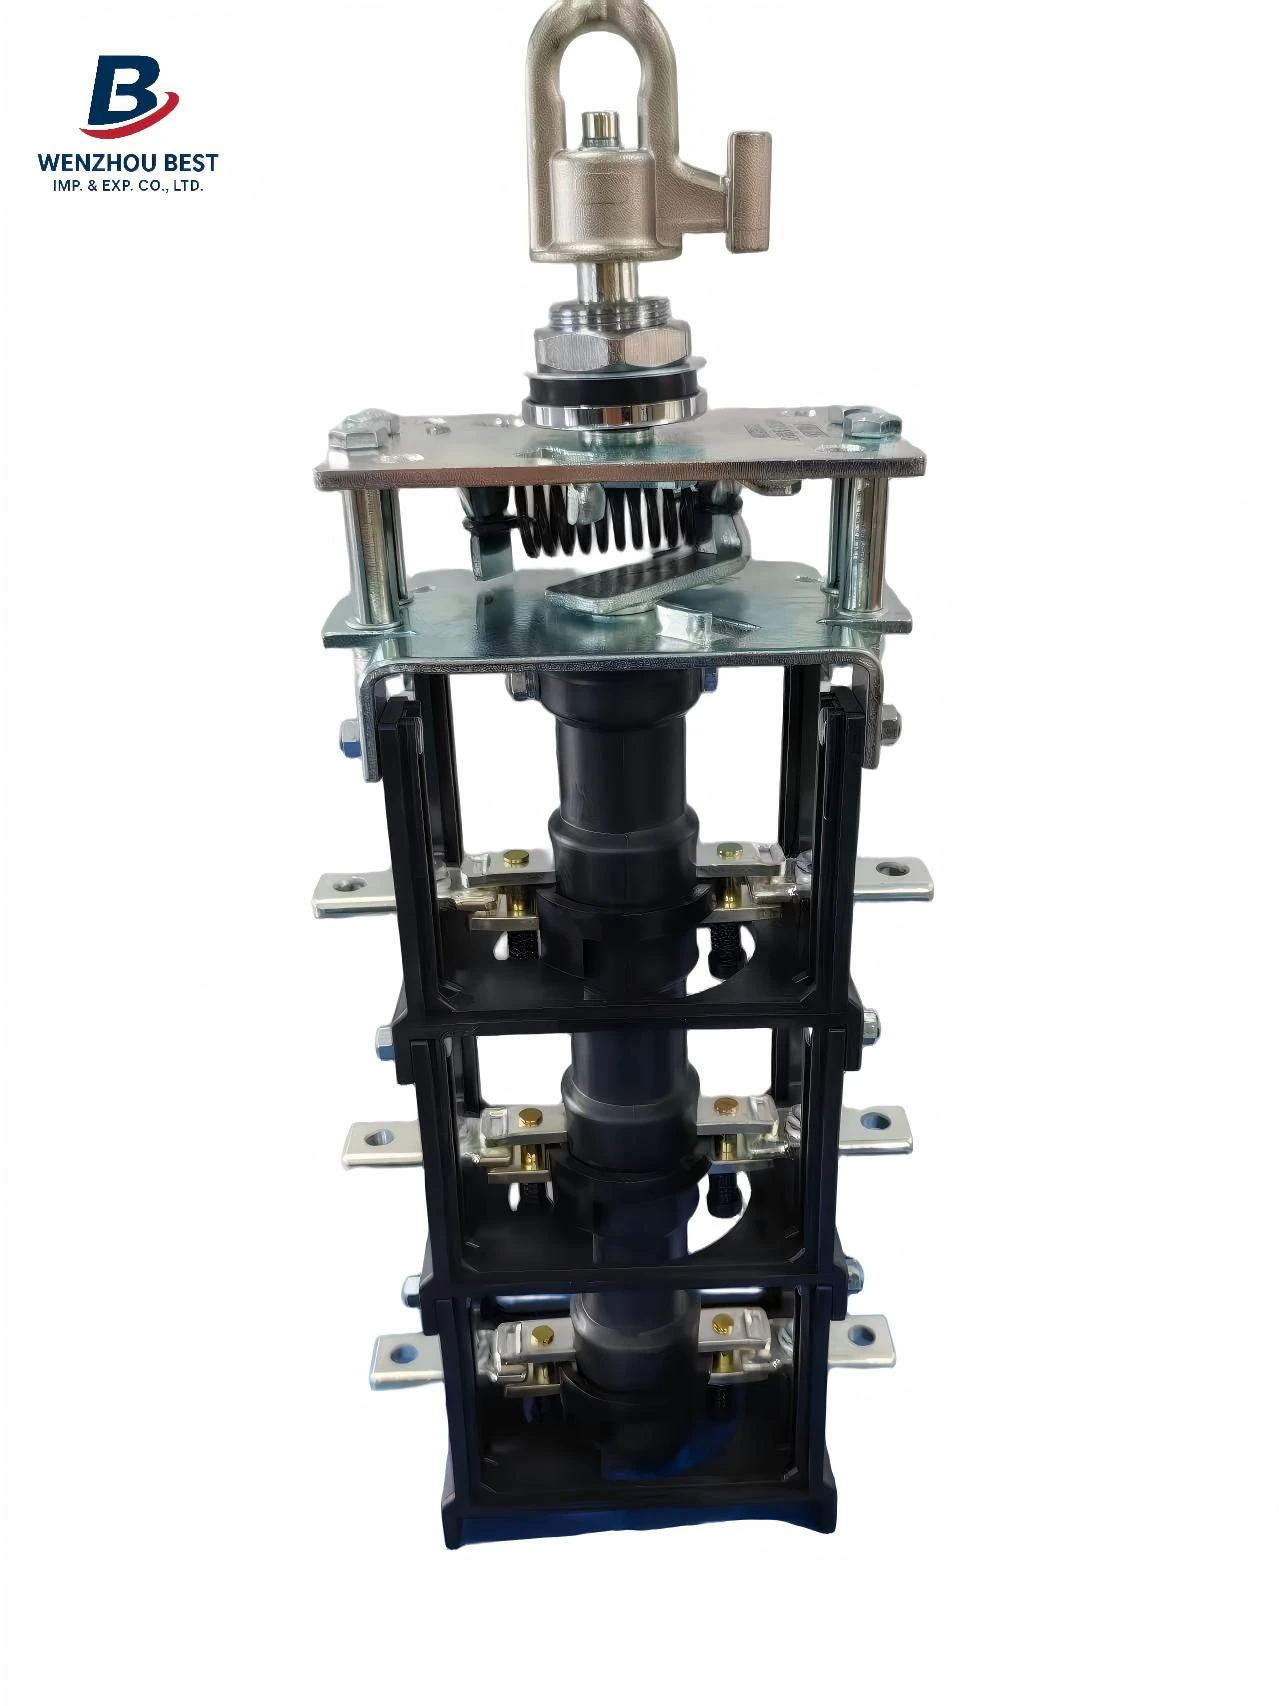
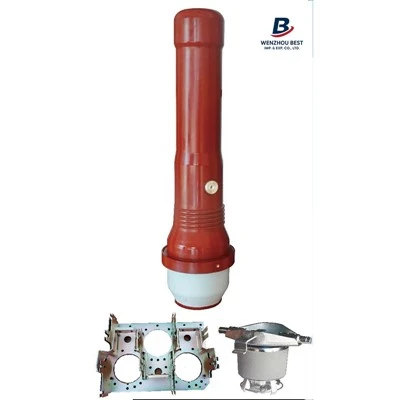
How to install 35kV 600A/900A Deadbreak Bushing?
Let Wenzhou Best Team tell you:
Step 1: Sealing surface of the tank
1.1 Tank has welding scars, scratches, residual dust particles and other uneven defects that may affect the sealing performance of the sealing flat
gasket.
1.2 Judge whether they meet the requirements before installation.

Step 2: Install the earthing wire to the bushing
2.1 Wenzhou Best team is equipped with an M5 screw and elastic pad, and fixed on the sleeve, please remove the screw and elastic pad, and fix the OT6-5 terminal of the grounding wire with the removed M5 screw and gasket, and tighten it.
RecommendationTightening torque 5N.m.

Step 3: Install the gasket
3.1 Clean the sealing groove and gasket of the bushings with alcohol, and then put the gasket on the bushing and pass through the hole of the tank.

Step 4: Adjust the position of the earthing wire
4.1 Keep the M5 earthing screw away from the stiffener (as indicated by the white arrow on the left) to avoid the M5 screw being close to the stiffener, which will cause the pressure plate installation process to interfere with the nut of the M5 screw;

Step 5: Clamp Installation
5.1 Lign the four holes of the clamp with the four screw holes, fix the clamp
with 3/8-16 UNC screw elastic pad and flat pad first, and then use a torque
wrench to tighten the screws in turn in diagonal order.
Recommendation tightening torque 20N.m.
Step 6: Busbar conductor installation
6.1 Clean the lap surface of the conductor an tighten it with a 5/8-11UNC nut and wedge gasket;Tightening torque is 80~90N.m
Step 7: Clamp Installation
7.1 Fix the OT6-14 terminal of the earthing wire to the stud of the tank with 1/2-13UNC screws and elastic pads.
Recommendation tightening torque is 40N.m

Step 8: Complete installation

2.Attention
2.1 The welding bolt structure required for installing the clamp
2.11 Similar to the recommendation in this manual, use 20.5mm high 3/8-16 UNC internal pressurebolts;
2.12 Using 41mm high, 3/8-16 UNC external threaded bolts, and a 20.5mm high cushion sleeve as a structural method to prevent deformation of the clamp;