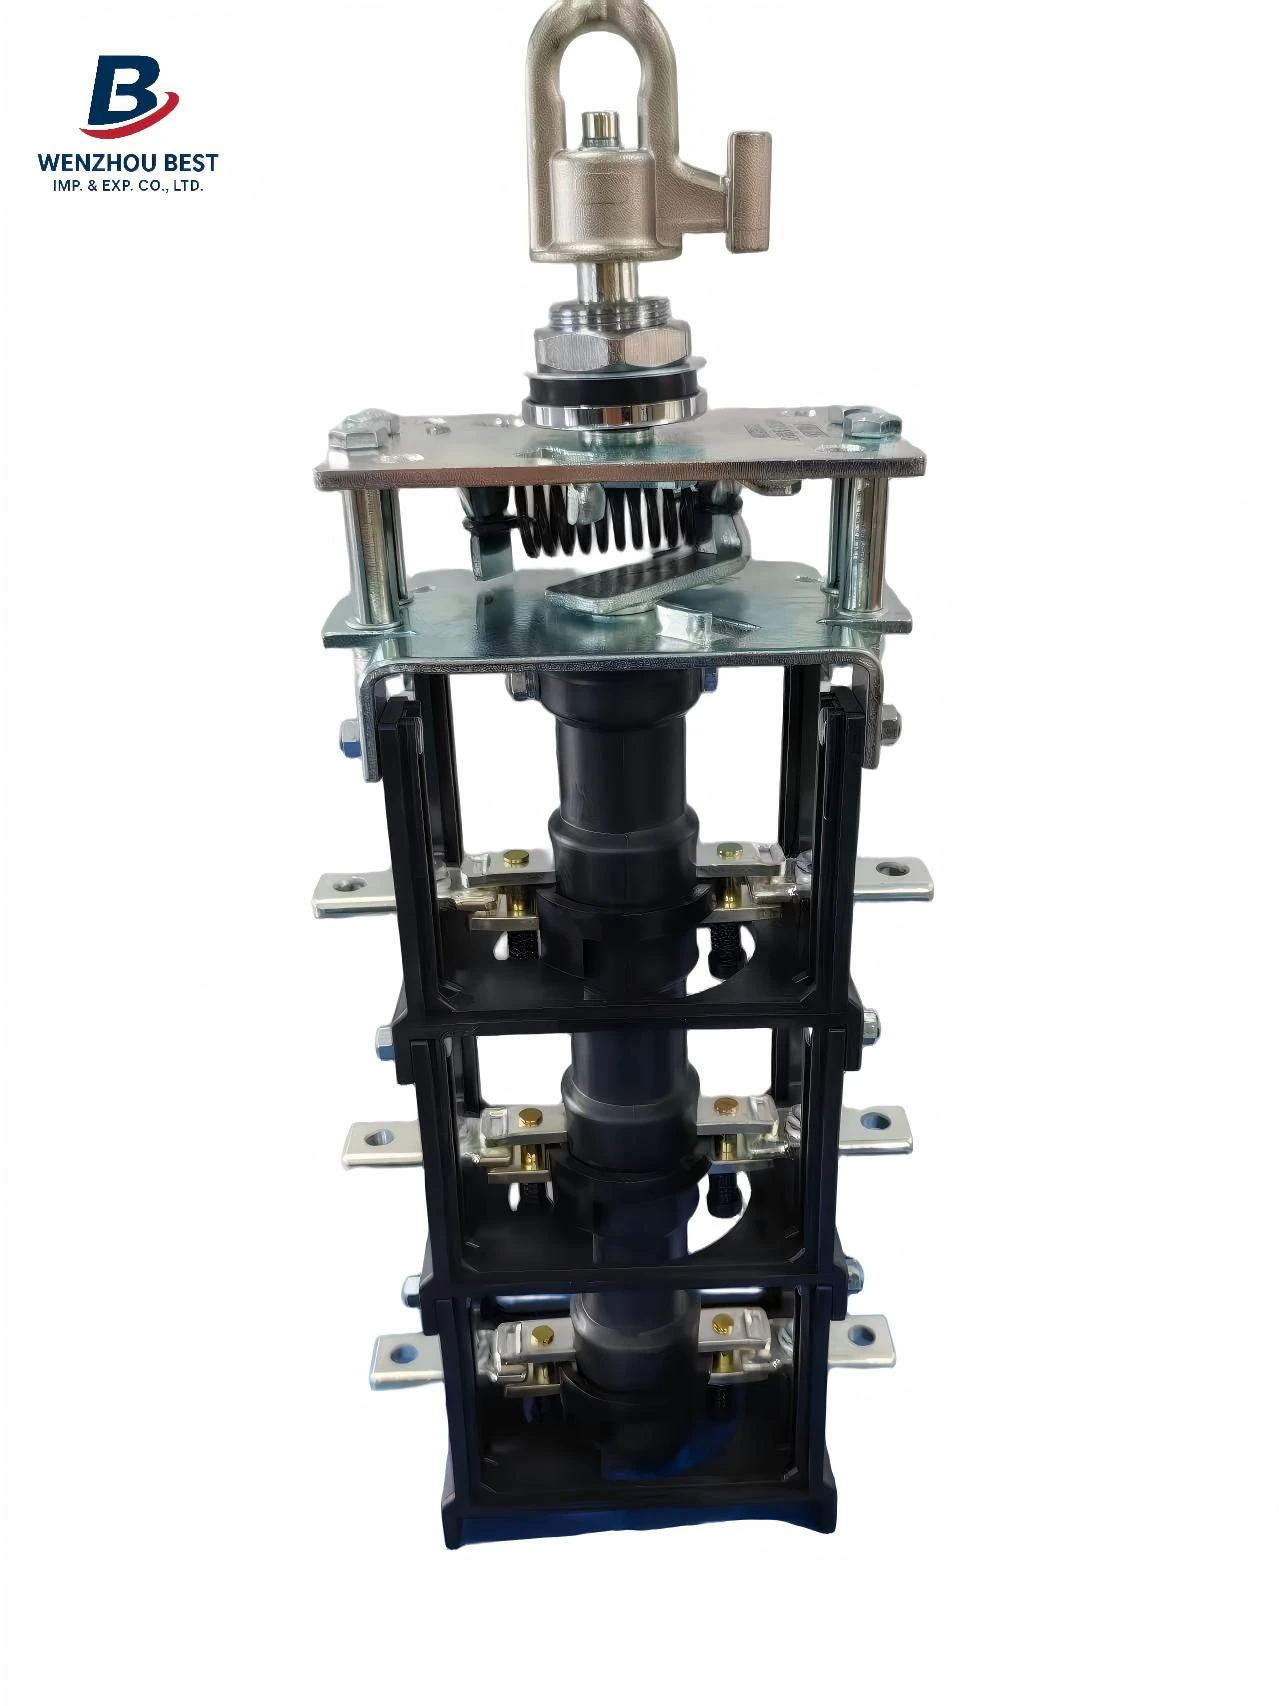
Preliminary Preparations
Prepare specialized tools in advance: these include torque wrenches, insulated wire strippers, crimping tools, multimeters, etc. Simultaneously, gather consumables such as cable accessory bodies, sealing compounds, electrical tape, and waterproof tape that match the specific cable specifications. Verify that the construction site is dry and well-ventilated, and avoid working during adverse weather conditions such as rain, snow, or strong winds. Warning signs must be posted in high-voltage work zones. Prior to work, verify that the cable model, cross-sectional area, and accessory parameters are compatible to prevent the use of incorrect components. High-voltage operations must be performed exclusively by electricians holding a valid special operations certificate.
Pre-Construction Inspection
First, inspect the physical condition of the cable: confirm that the outer sheath and insulation layer show no signs of damage, moisture ingress, or corrosion. Next, unbox and inspect the cable accessories to ensure the packaging is intact and that all components are present and undamaged. For high-voltage cable work, it is mandatory to first verify that the line is de-energized and to attach grounding wires; construction may only proceed once it is confirmed that there is no risk of electrical shock. For low-voltage cables, the upstream power supply must be disconnected, and warning tags must be posted.
Main Body Installation
Following the stripping dimensions specified in the product manual, sequentially remove the cable's outer sheath, steel armor (for armored cables), and inner sheath. During this process, exercise care to avoid damaging the cable conductors or the main insulation layer. Subsequently, crimp the connection terminals (for cable terminations) or connection sleeves (for cable joints). Use a torque wrench to tighten the bolts to the specific torque values prescribed by the product manufacturer; this prevents over-tightening-which could damage the conductors-or under-tightening-which could result in poor electrical contact and overheating.
Sealing Process
This constitutes a critical stage for preventing the ingress of moisture and rainwater. First, thoroughly clean all contact surfaces designated for sealing to ensure they are free of dust and water stains. After applying the specialized sealing compound, install the sealing sheath and wrap the area with waterproof electrical tape. For outdoor cable terminations, a rain shield must be installed to prevent gaps from forming in the sealed area, which could otherwise lead to insulation failure.
Performance Testing and Acceptance
Test the insulation resistance of the cable accessories. For low-voltage cables, the insulation resistance must be no less than 0.5 MΩ/km; for high-voltage cables, it must comply with the relevant requirements of the *Standard for Construction and Acceptance of Cable Lines in Electrical Installation Engineering* (GB 50168-2018). High-voltage accessories must also undergo a power-frequency withstand voltage test. Once all parameters are verified as compliant, compile the construction records and complete the acceptance process.
Post-Installation Protection and Inspection
Securely fasten the installed accessories to prevent damage from external physical impact. Accessories installed outdoors must be clearly marked and subjected to subsequent periodic inspections to check for signs of aging in the sealing components, as well as anomalies such as overheating or deformation; any potential hazards identified must be addressed promptly.